Import your first Excel file
Three ways in and how they differ, which formats work, what happens to headers and merged cells during import, and the four things to check afterwards. Importing has no row limit — free version included.
Opening the import window
Three places open the same Import window; only the outcome differs:
| Where you click | Result |
|---|---|
| Upload file on the home page, or at the bottom of the sidebar | Creates a new table |
| Import → Upload file in a table's toolbar | Imports into that table |
| New from blank → New Table, then import | Same as above, starting from an empty table |
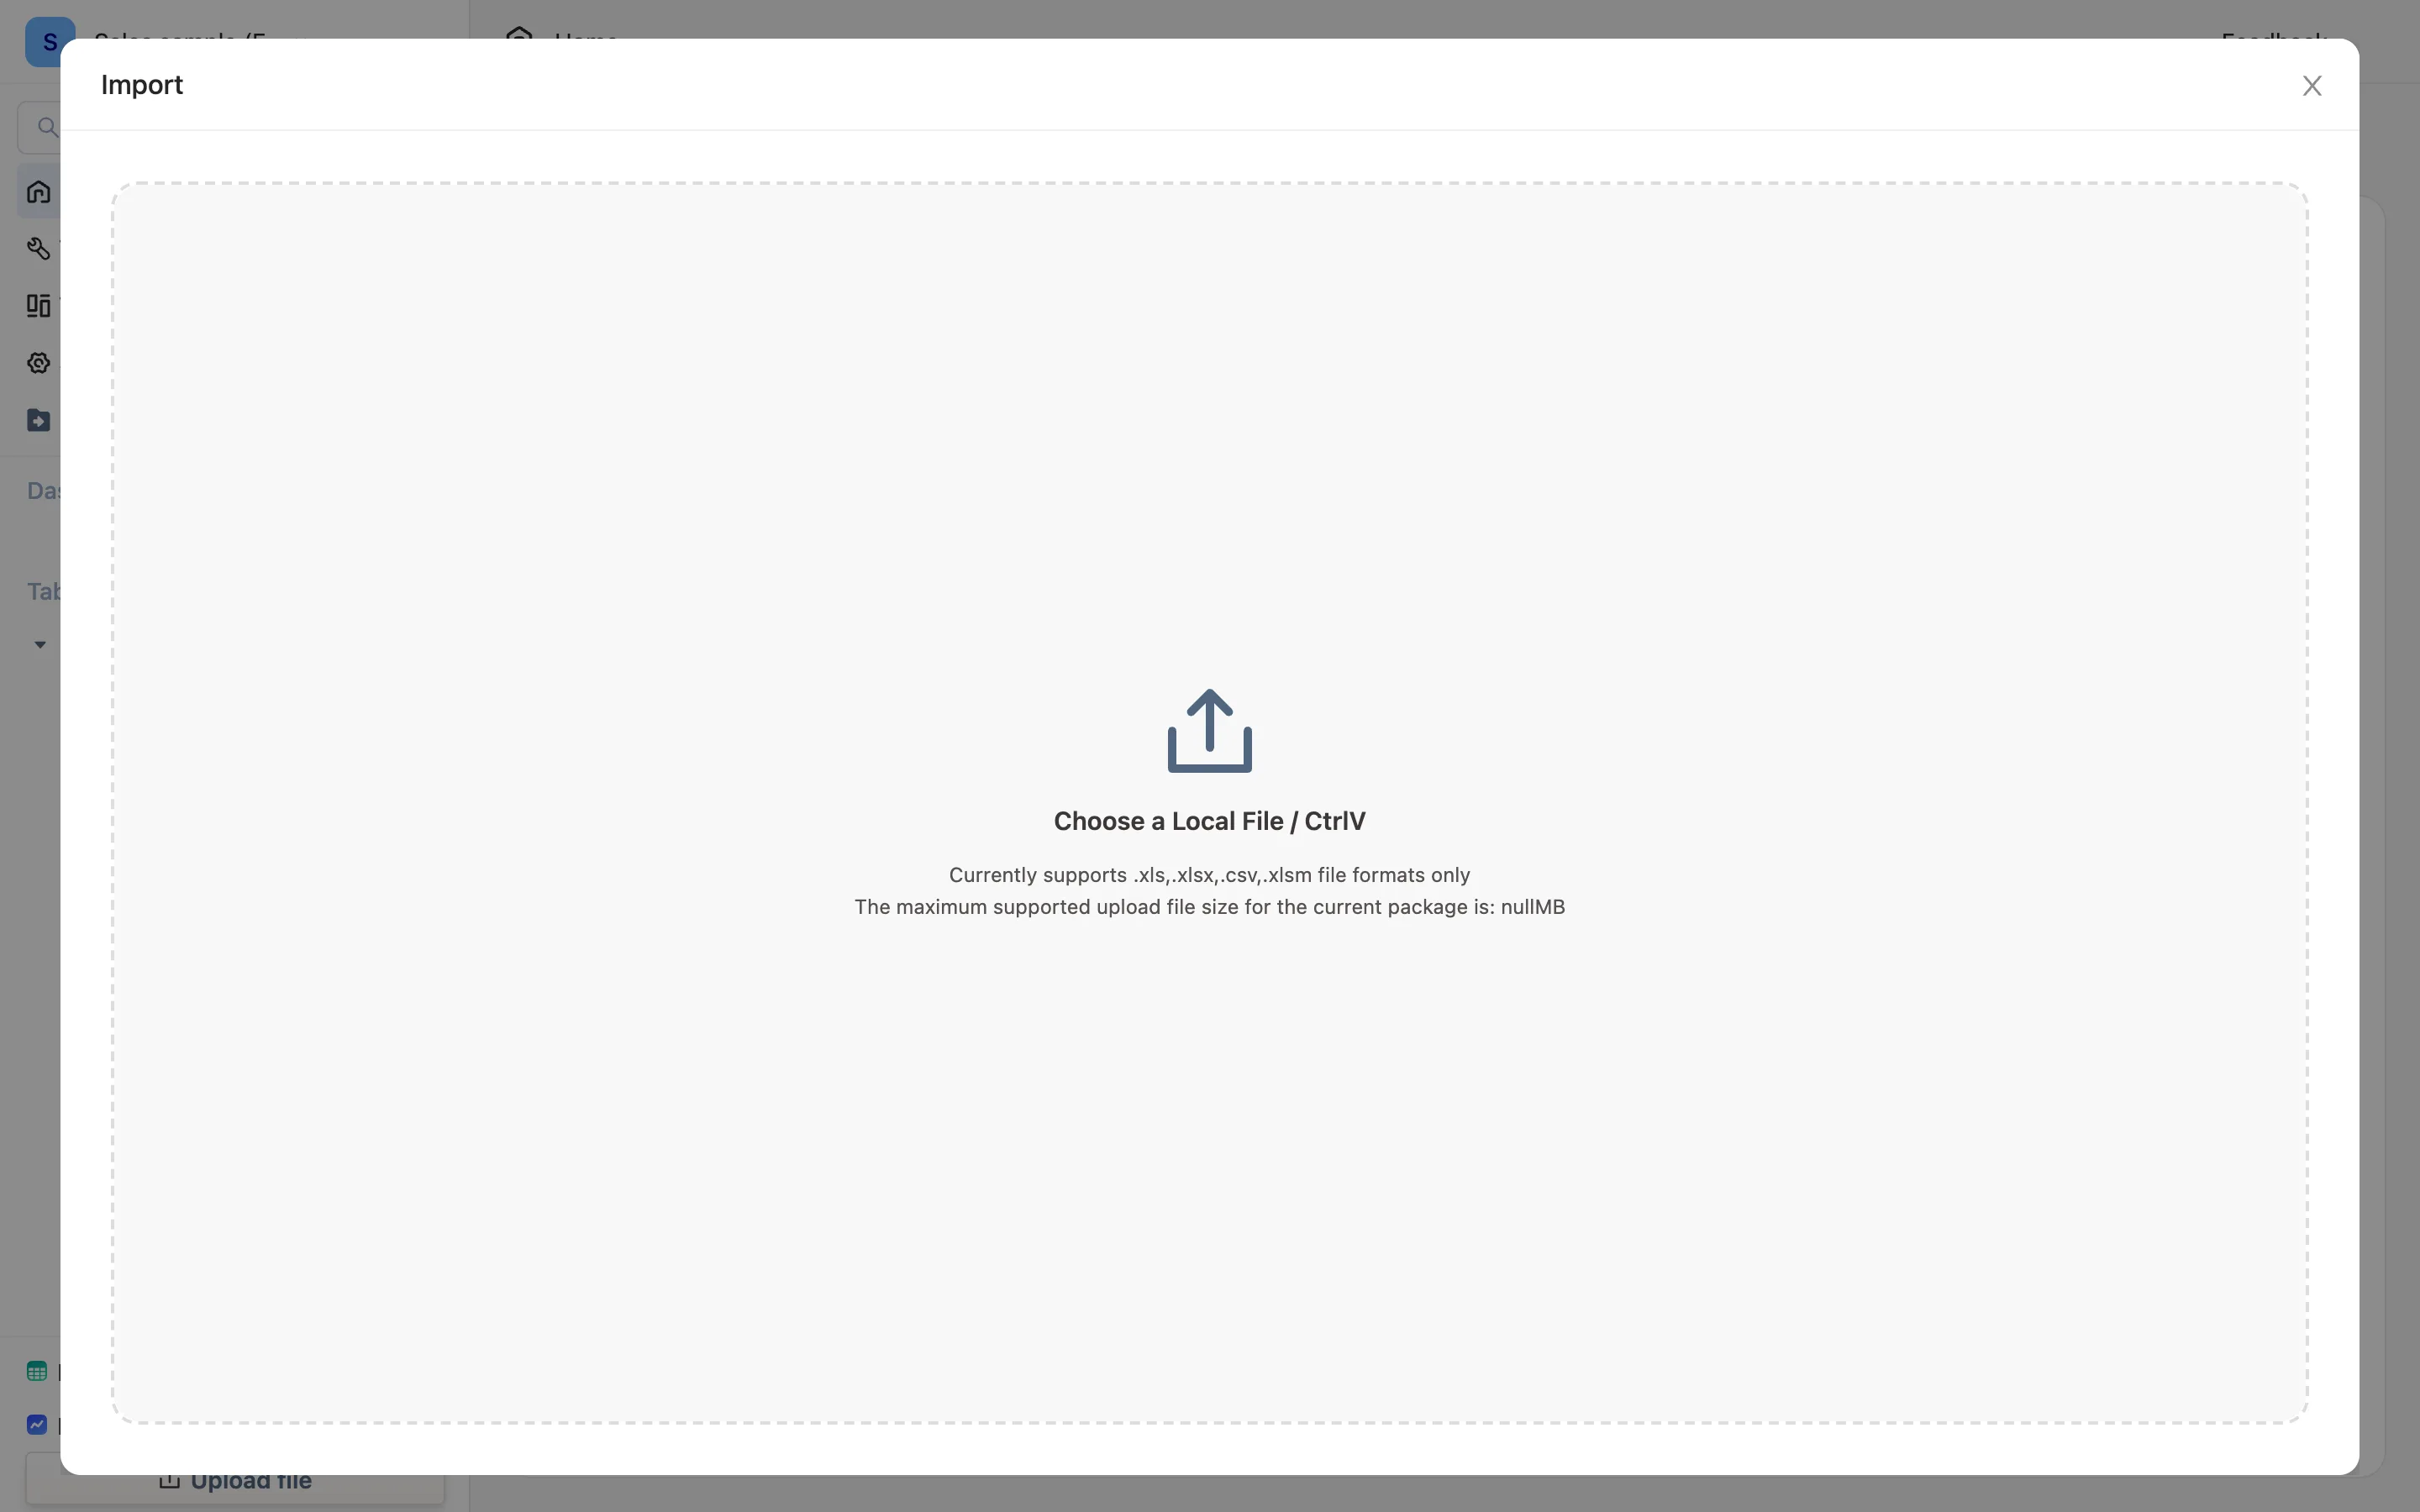
It takes .xlsx, .xls, .csv and .xlsm. You can also press Cmd+V (Ctrl+V on Windows) inside the window to paste a block copied from Excel or a web page — the upload area says Choose a Local File / CtrlV. Importing has no row limit.
Step 1: pick the file and the worksheet
Once a file is chosen you land in a preview. If the workbook has several worksheets there is a picker at the top and you import one at a time; to bring in several, tick Merge and import into one Table to stack them by row (matching column names line up), or import them one after another.
Step 2: tidy it up (skippable)
Above the preview is a row of tools for turning a table meant for people into a table meant for machines. If you do not need them, press Import.
| Tool | What it does |
|---|---|
| Transpose Data | Flips the whole thing. Use it when the source is "one metric per row, one month per column" |
| Cut | Select a region and keep only that — the fastest way to drop titles, notes and total rows |
| Merge Rows / Merge Fields | Joins the selected rows (or fields) into one. Two header rows become one header row |
| Delete Row / Delete Field | Removes the selected rows or columns entirely |
| Auto Merge Rows | When empty headers are detected, stitches the rows above into one header |
| Undo / Redo | Every tidy-up step is reversible |
The bottom of the window shows Columns to Import and Rows to Import as you go — check they match what you expect before pressing Import. The small print beside them is the preview's own limit and the table's ceiling: the preview only renders the first N rows and columns (selecting the last row or column means "all of them"), and a table holds at most 1,000 columns; rows are unlimited.
The first row is always treated as the header. If your file starts with a merged banner title, the import offers Empty headers detected — "There are empty headers in this table, do you want to try to auto merge?" — and Auto merge and import usually handles it. If it does not, use Cut to remove the title rows. Empty headers are filled in as "Untitled"; rename them after importing.
Step 3: append or replace
When importing into an existing table you choose between:
- Append Data — new rows are added, existing data untouched. This is the one for "another batch every month".
- Replace Existing Data — clears the table and writes this batch. Use it when the source file is always the full set and you only want the latest.
Creating a new table skips this step.
Columns line up by name
When appending, the file's columns map to the table's columns by name: a column called Amount in the file goes into the column called Amount in the table, regardless of order. Columns the file has and the table does not are skipped; columns the table has and the file does not are left empty. So the only thing to keep an eye on is column names — and Template in the toolbar hands you an empty Excel with just the headers, so anyone filling it in cannot get them wrong.
After it lands
- A new table is named after the file. Importing into an existing table asks Import and Rename Table As — Import and Rename to take the file's name, or Import to keep the current one.
- Each column's type is guessed once from its contents, and the icon before the header shows the result. An amount column showing
T(text) needs fixing in the header dropdown under Field Type, or nothing will sum. - Excel formulas come in as values. Hyperlinks, colors and comments are not kept. To make the calculation happen again, rebuild it as a formula column here.
Next
- Another batch every month: repeat Import → Append Data; the column names carry it. To avoid importing the same rows twice, set a primary key first.
- Not an Excel file: paste, an image, JSON, or connect a database or API directly.
- It came in wrong: when the import looks wrong.